Making Siri Shortcuts run automatically – even when iOS doesn’t want you to

I never seem to end up writing the blog posts I intend to.

This evening I wanted to followup on this morning’s release of VirtualHostX Pro and my reasons for switching to the new subscription model pricing structure I went with.

Instead, I’m burnt out from three weeks of pushing hard to get the app and the necessary server infrastructure out the door. So, that post can wait.

Let’s talk about something fun and related to my new obsession with Siri Shortcuts and CarPlay. Namely, how to trick iOS into running Shortcut automations that the OS doesn’t typically allow you to do.

A week ago I posted about how to triage your email in the car with Siri and a little server-side magic. Tonight I’m going to hack together a Shortcut that automates something I’ve done nearly every afternoon, five days a week, for the last thirteen years: tell my wife I’m leaving work.

I have a shitty commute each day from one side of Nashville to another. The mornings aren’t too horrible, but my afternoon drive home is almost always an hour. And the first thing I do as I pull out of the work parking lot is tap Waze to get a traffic estimate and either text or call my wife to let her know I’m leaving and how long it’s probably going to take. This didn’t matter so much the first eight years of our marriage, but now with two kids who have school schedules of their own, every little bit of coordination helps.

If you’ve played around with Shortcuts.app much, you’ve probably noticed two things:

  1. There’s an intriguing action to compose and send a text message to someone.
  2. In iOS 13 there’s a new (it is new in iOS 13, right?) “Automation” tab that lets you schedule certain shortcuts to run automatically.

I’m a big fan of automating my computers as much as possible. So this suddenly being available on my trouser Mac has my mind spinning with the possibilities.

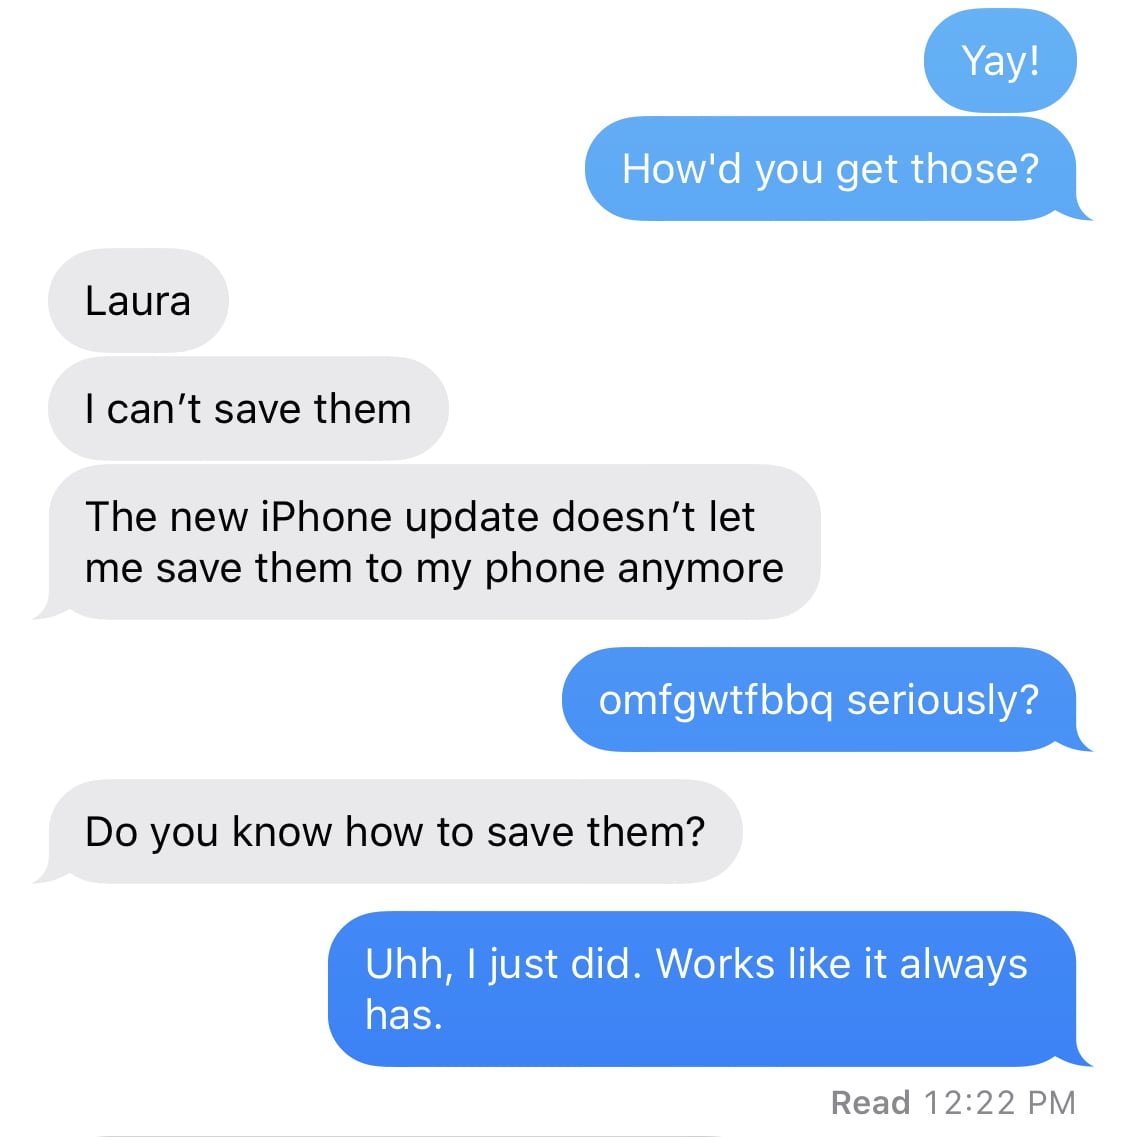
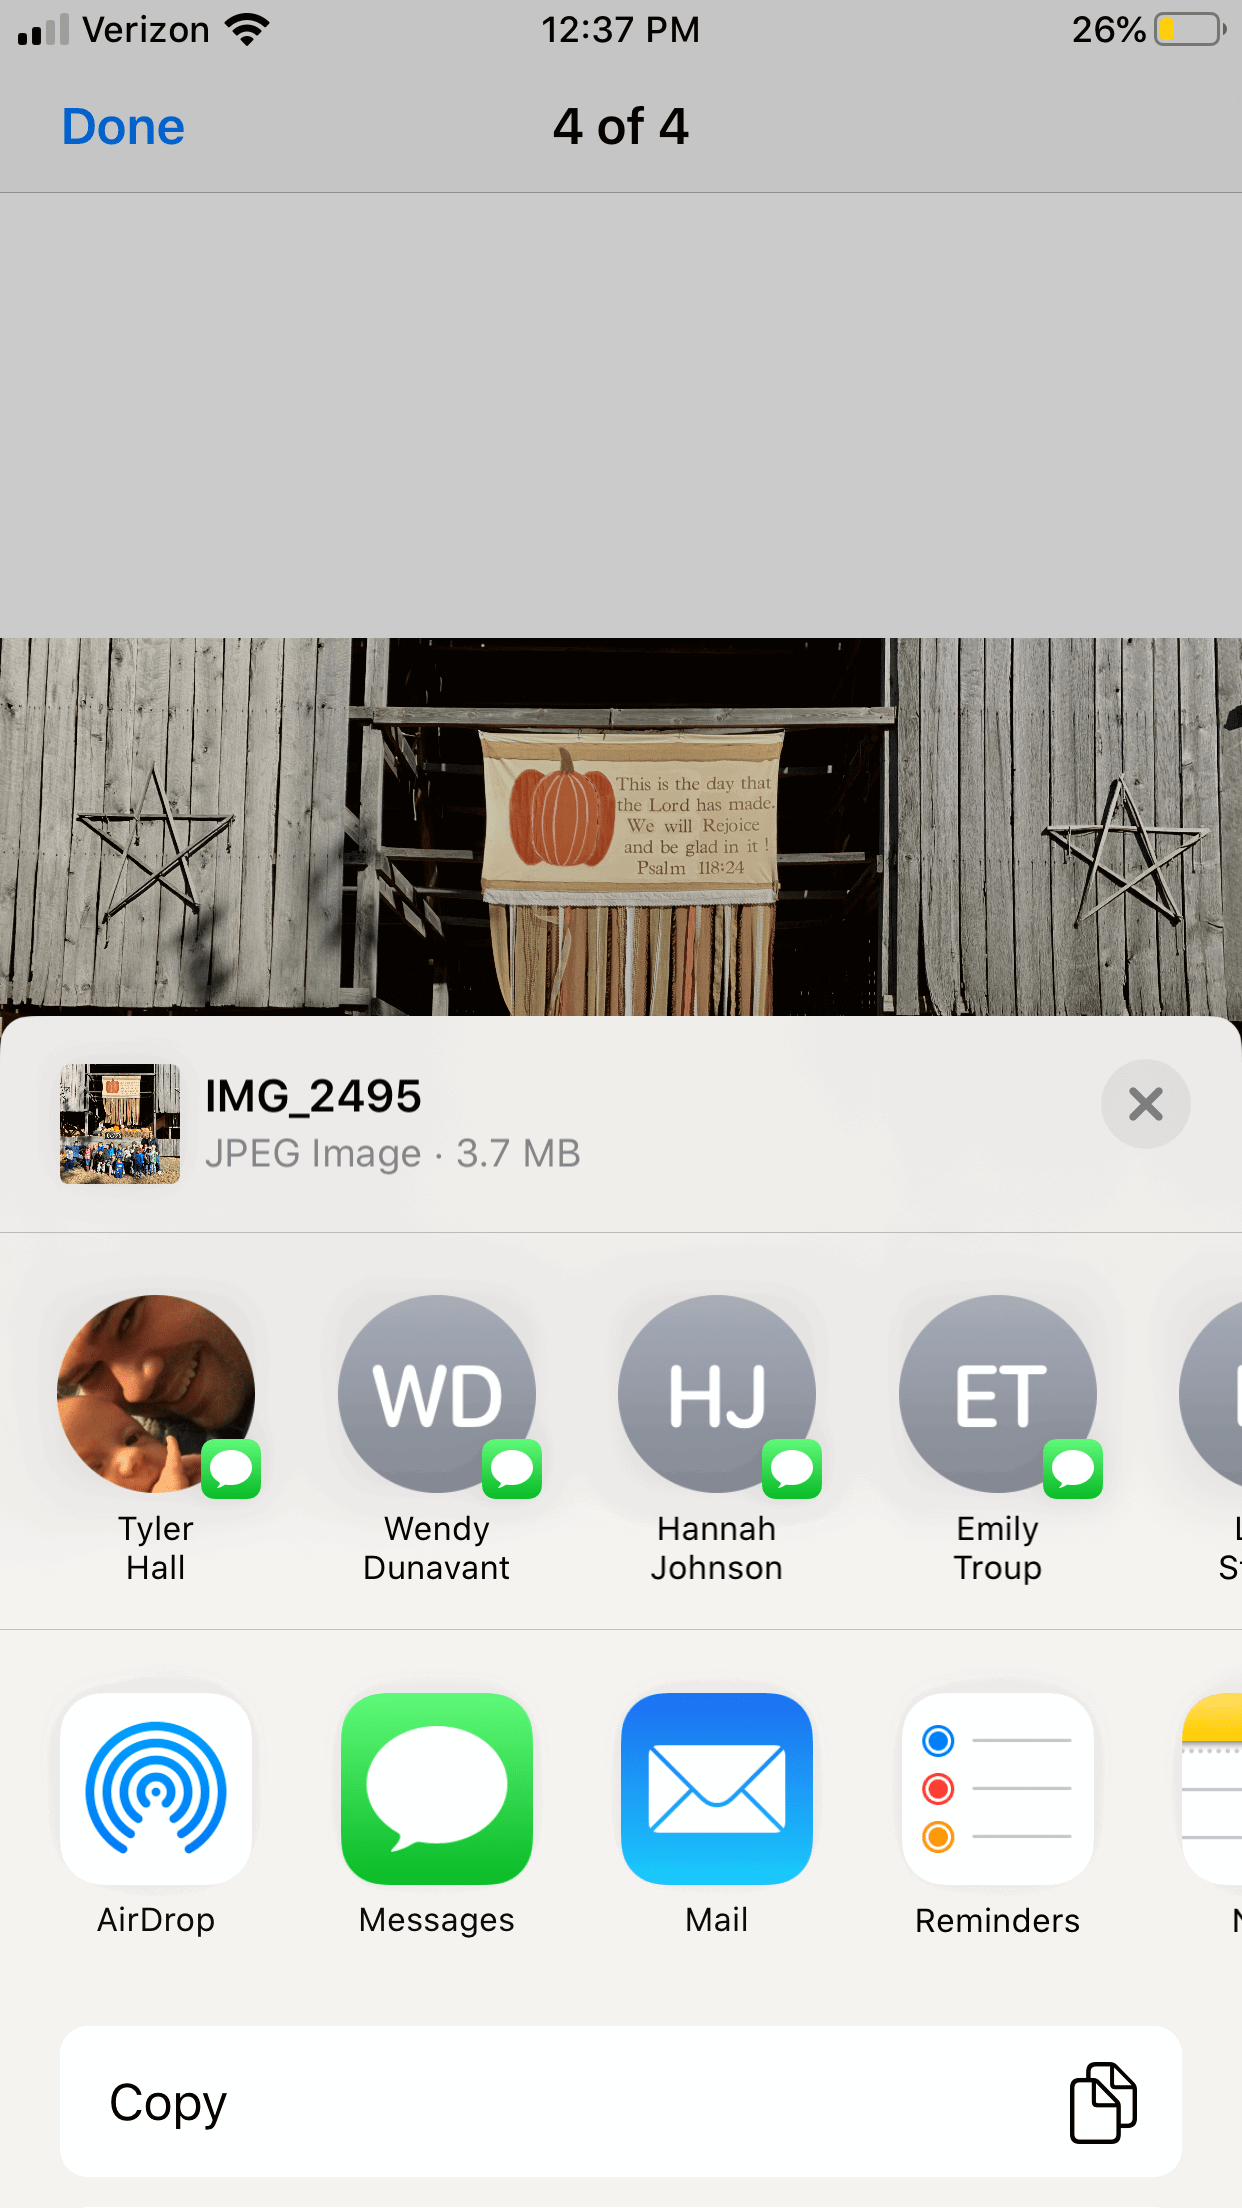
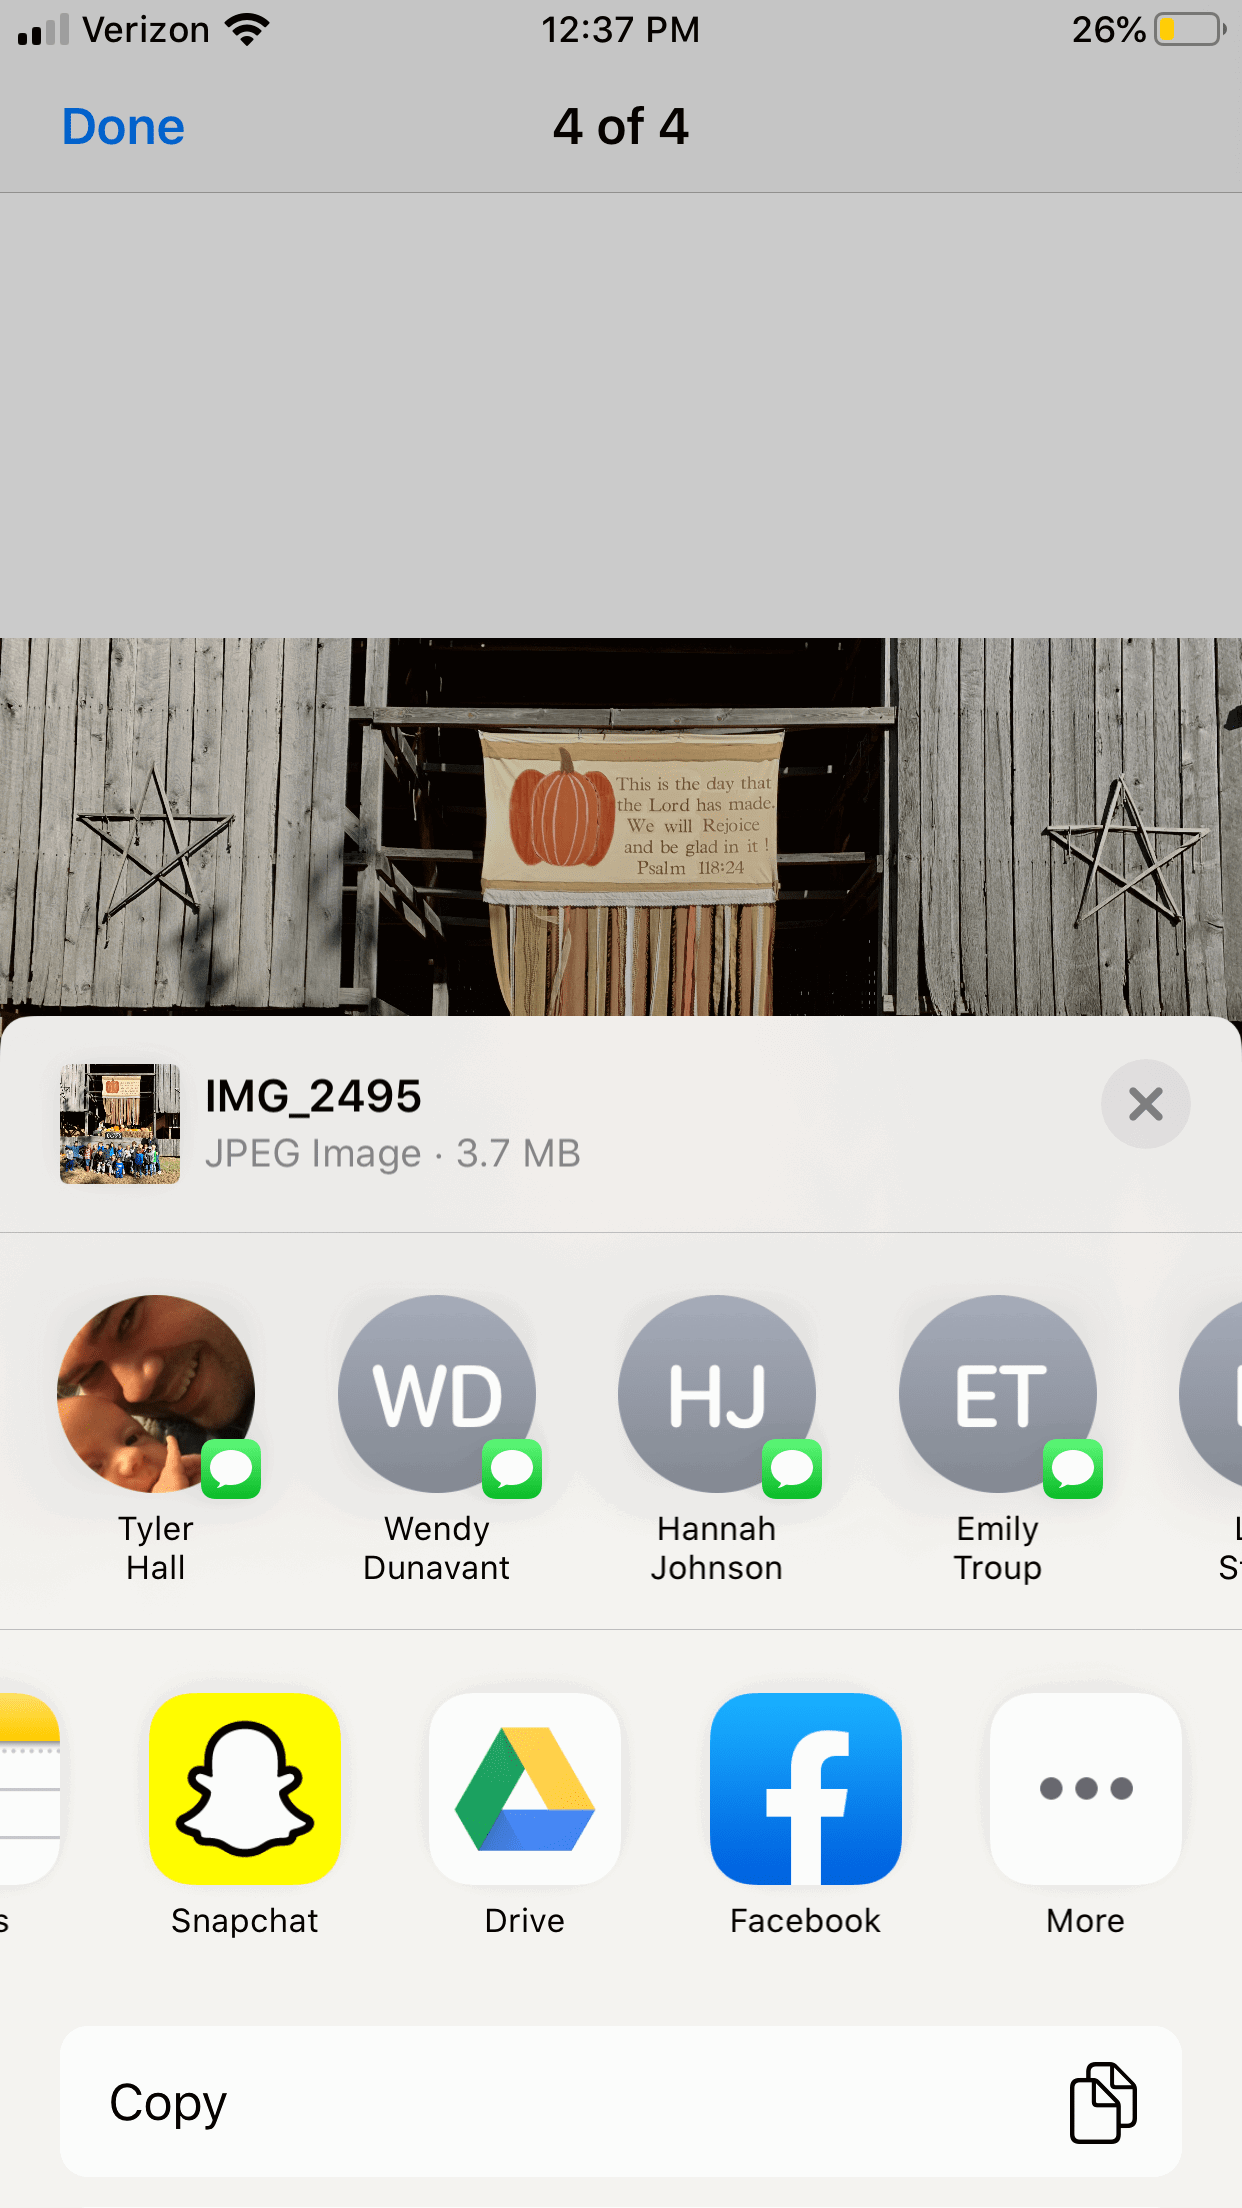
Sadly, a ton of the endless automations I can dream up are just not possible because Apple simply restricts what can happen automatically. I assume this is for privacy reasons. And I can’t really blame them. As an example, what if someone got ahold of your phone and set a shortcut to automatically text your most recent photos to everyone in your address book every time you left the location of your favorite night club? Not good.

But, as a power user, I crave this type of, well, power over my device. I would love an “I’m not an idiot” switch to bypass these safety protections. Until then, here’s what I’m doing to hack around it.

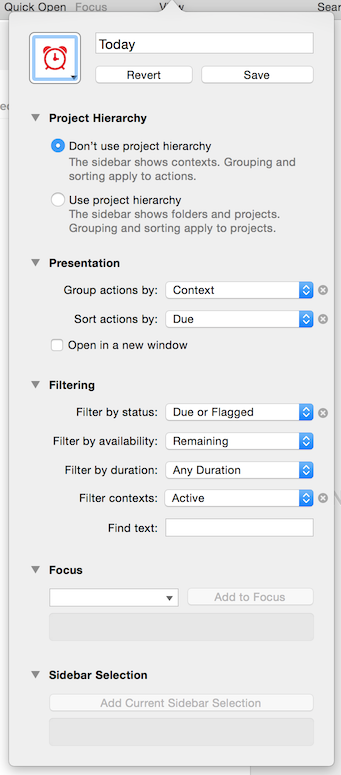
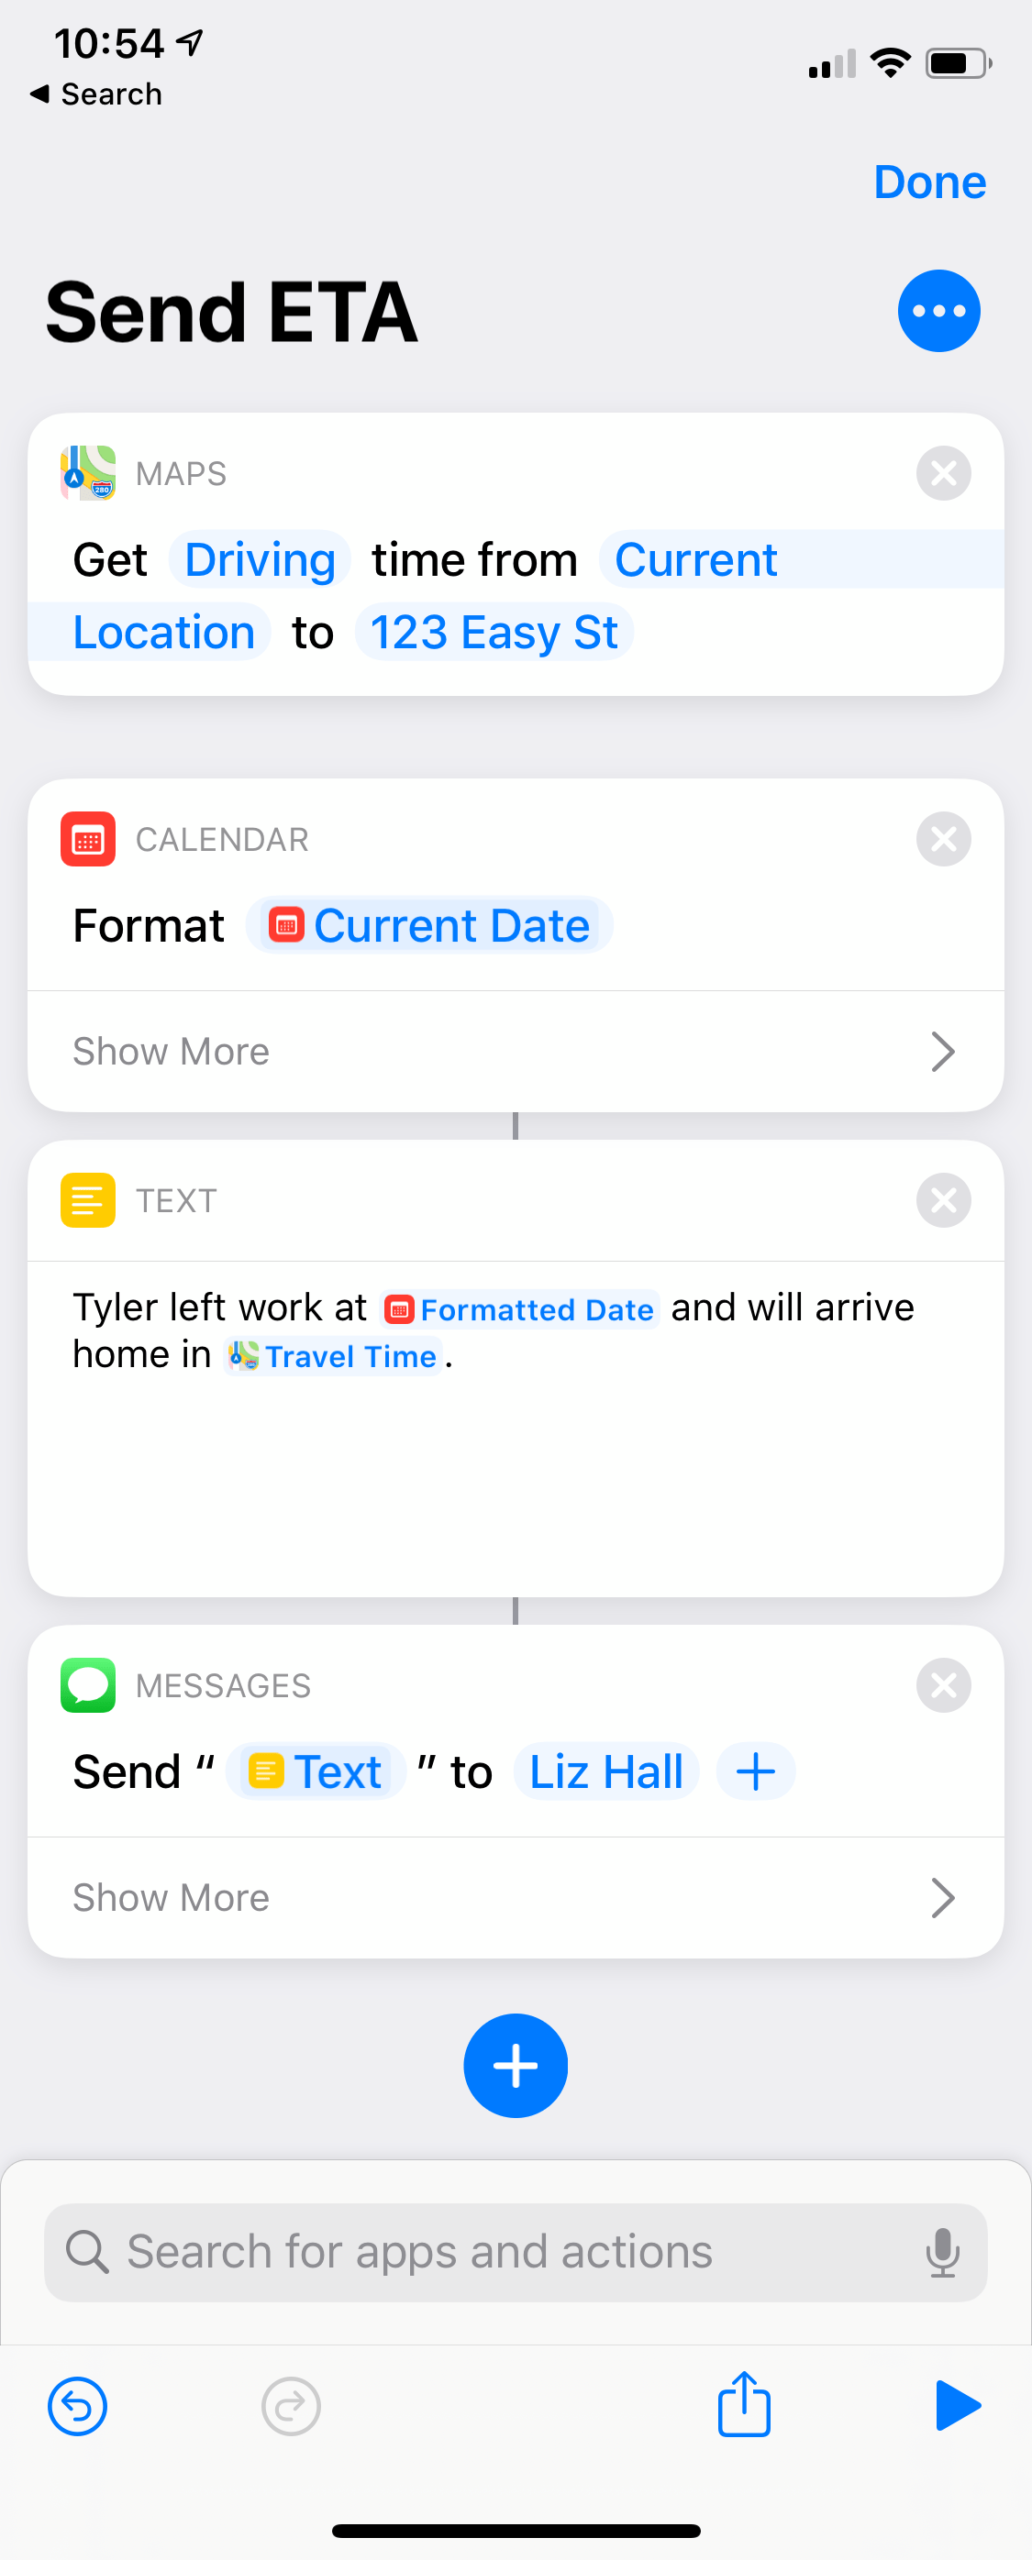
My ideal use case is this: when I leave work in the afternoon, fetch the estimated drive time home and text it to my wife. It’s that simple. Here’s what the Shortcut would normally consist of…

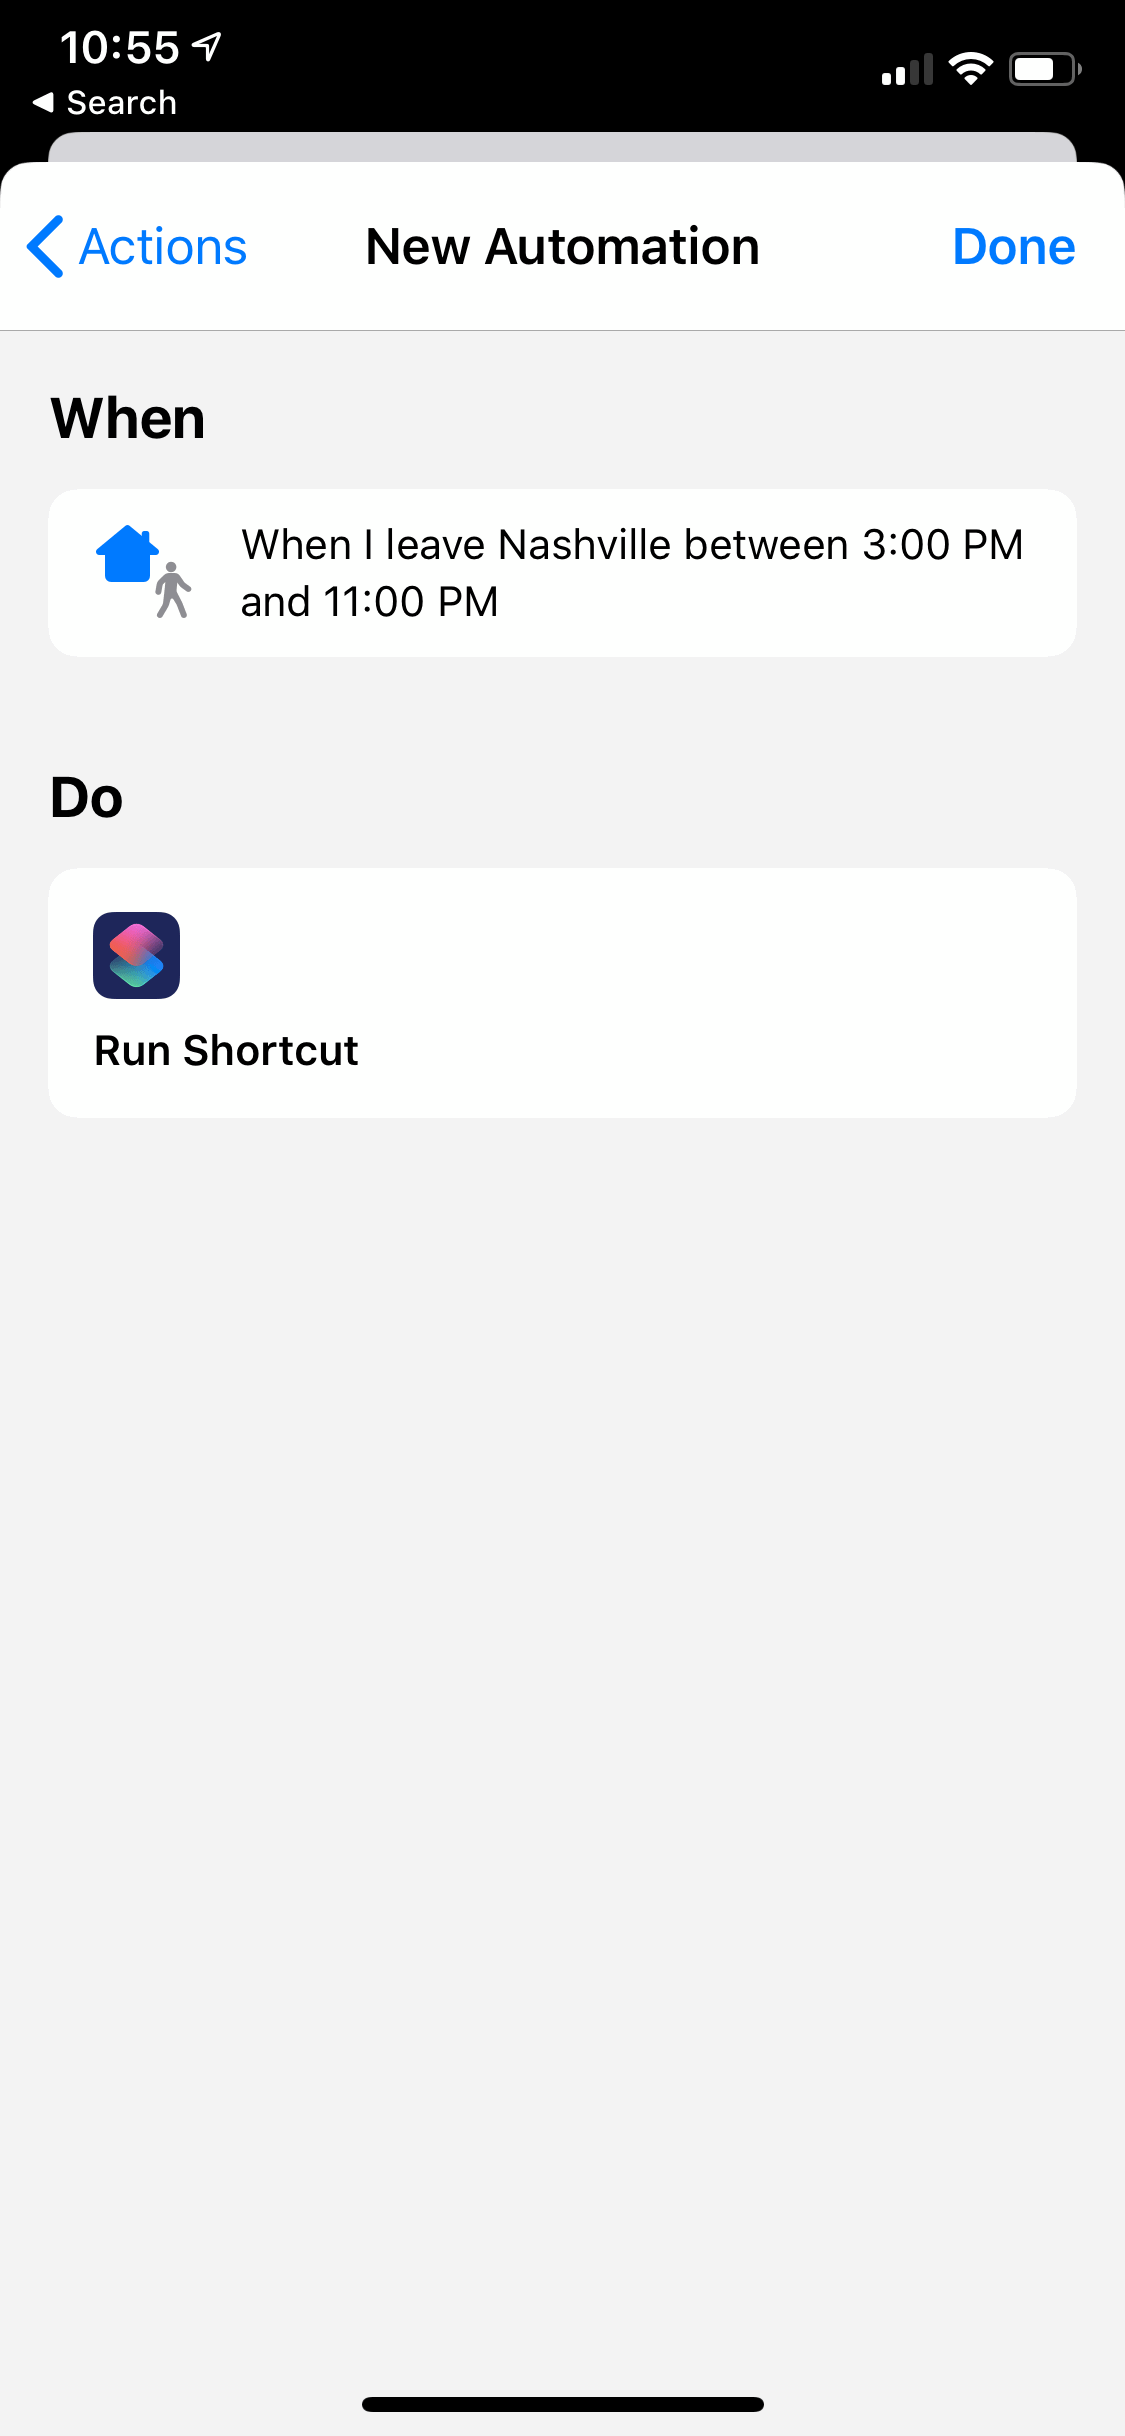
And then you’d just hook it up to an automation that runs it when you leave work in the afternoon like so…

But, like so many of iOS’s restricted Shortcut actions and Automations, sure, it’ll run – but it doesn’t actually do anything until you tap on a notification it presents and then unlock your phone to give it permission.

We can do better.

At first I thought: “OK, I have a ton of server side experience. I’ve written code to work with Twilio’s awesome SMS sending service many times. If iOS won’t let me send an iMessage automatically, I’ll just make it ping my server and send a real SMS for me.”

Cool, cool.

So I whipped up a quick PHP script that accepts a message POSTed to it from the Shortcut and then texts it to my wife via Twilio. And it works great!

But! I quickly discovered that not only are some Shortcut actions restricted from running automatically, but certain Automations are as well. And location based triggers are one of them that iOS won’t run without your consent each time.

After doing a ton of googling, I found this Apple support document that reads:

The following automations cannot be run automatically:

  • Arrive
  • Before I Leave
  • Bluetooth
  • Leave
  • Time of Day
  • Wi-Fi

Crap. So, I can’t trigger the Shortcut based on leaving a location. But higher up in that support doc are triggers that do run automatically…

  • The following automations can be run automatically:
  • Airplane Mode
  • Alarm
  • CarPlay
  • Do Not Disturb
  • Low Power Mode
  • NFC
  • Open App
  • Watch Workout

Bingo. I added CarPlay to my Subaru recently. I can set the Shortcut to run when I connect to CarPlay.

But that’s not quite right. I don’t want her to get a random text from me every time I get in my car. Only when I’m leaving work in the afternoon.

The solution I came up with took some fiddling to get just right, but it works flawlessly. Here’s the full Shortcut, which I’ll explain below:

Since I want this Shortcut to run automatically, I need to hook it up to an Automation that can run things automatically. In my situation, that’s my phone connecting to CarPlay.

But, I only want the Shortcut to actually execute when I leave work. That means, it needs to be gated by the following conditions so my wife doesn’t receive unnecessary texts:

  1. I have to be currently at work. (So that the Shortcut runs when I’m leaving work.)
  2. It has to be at the end of the day. I don’t want it to trigger when I leave on my lunch break.

So, the first action gets my distance in miles from my current location to my work address (blurred out).

Then, if I’m within a quarter of a mile, the Shortcut continues. (Funny: my first pass at this script had the distance threshold set to one mile. She got a text when I left work, and then five minutes later when I left the gas station after buying a Zebra Cake.)

Next, we need to restrict it to the end of the day. For me, I consider this after 3pm. That’s well past when I would leave for lunch. But also early enough for when I do occasionally leave to pick up my kids instead of her.

And that time restriction was tricky to implement. Maybe there’s a simpler way in Shortcuts.app, but I couldn’t find a way to compare times – only dates. So, I first had to construct a data value for 3pm on the current day. And then compare that to the current date and time. If that computed date was earlier than the current date, that means it’s past 3pm and we’re good to finish running the script.

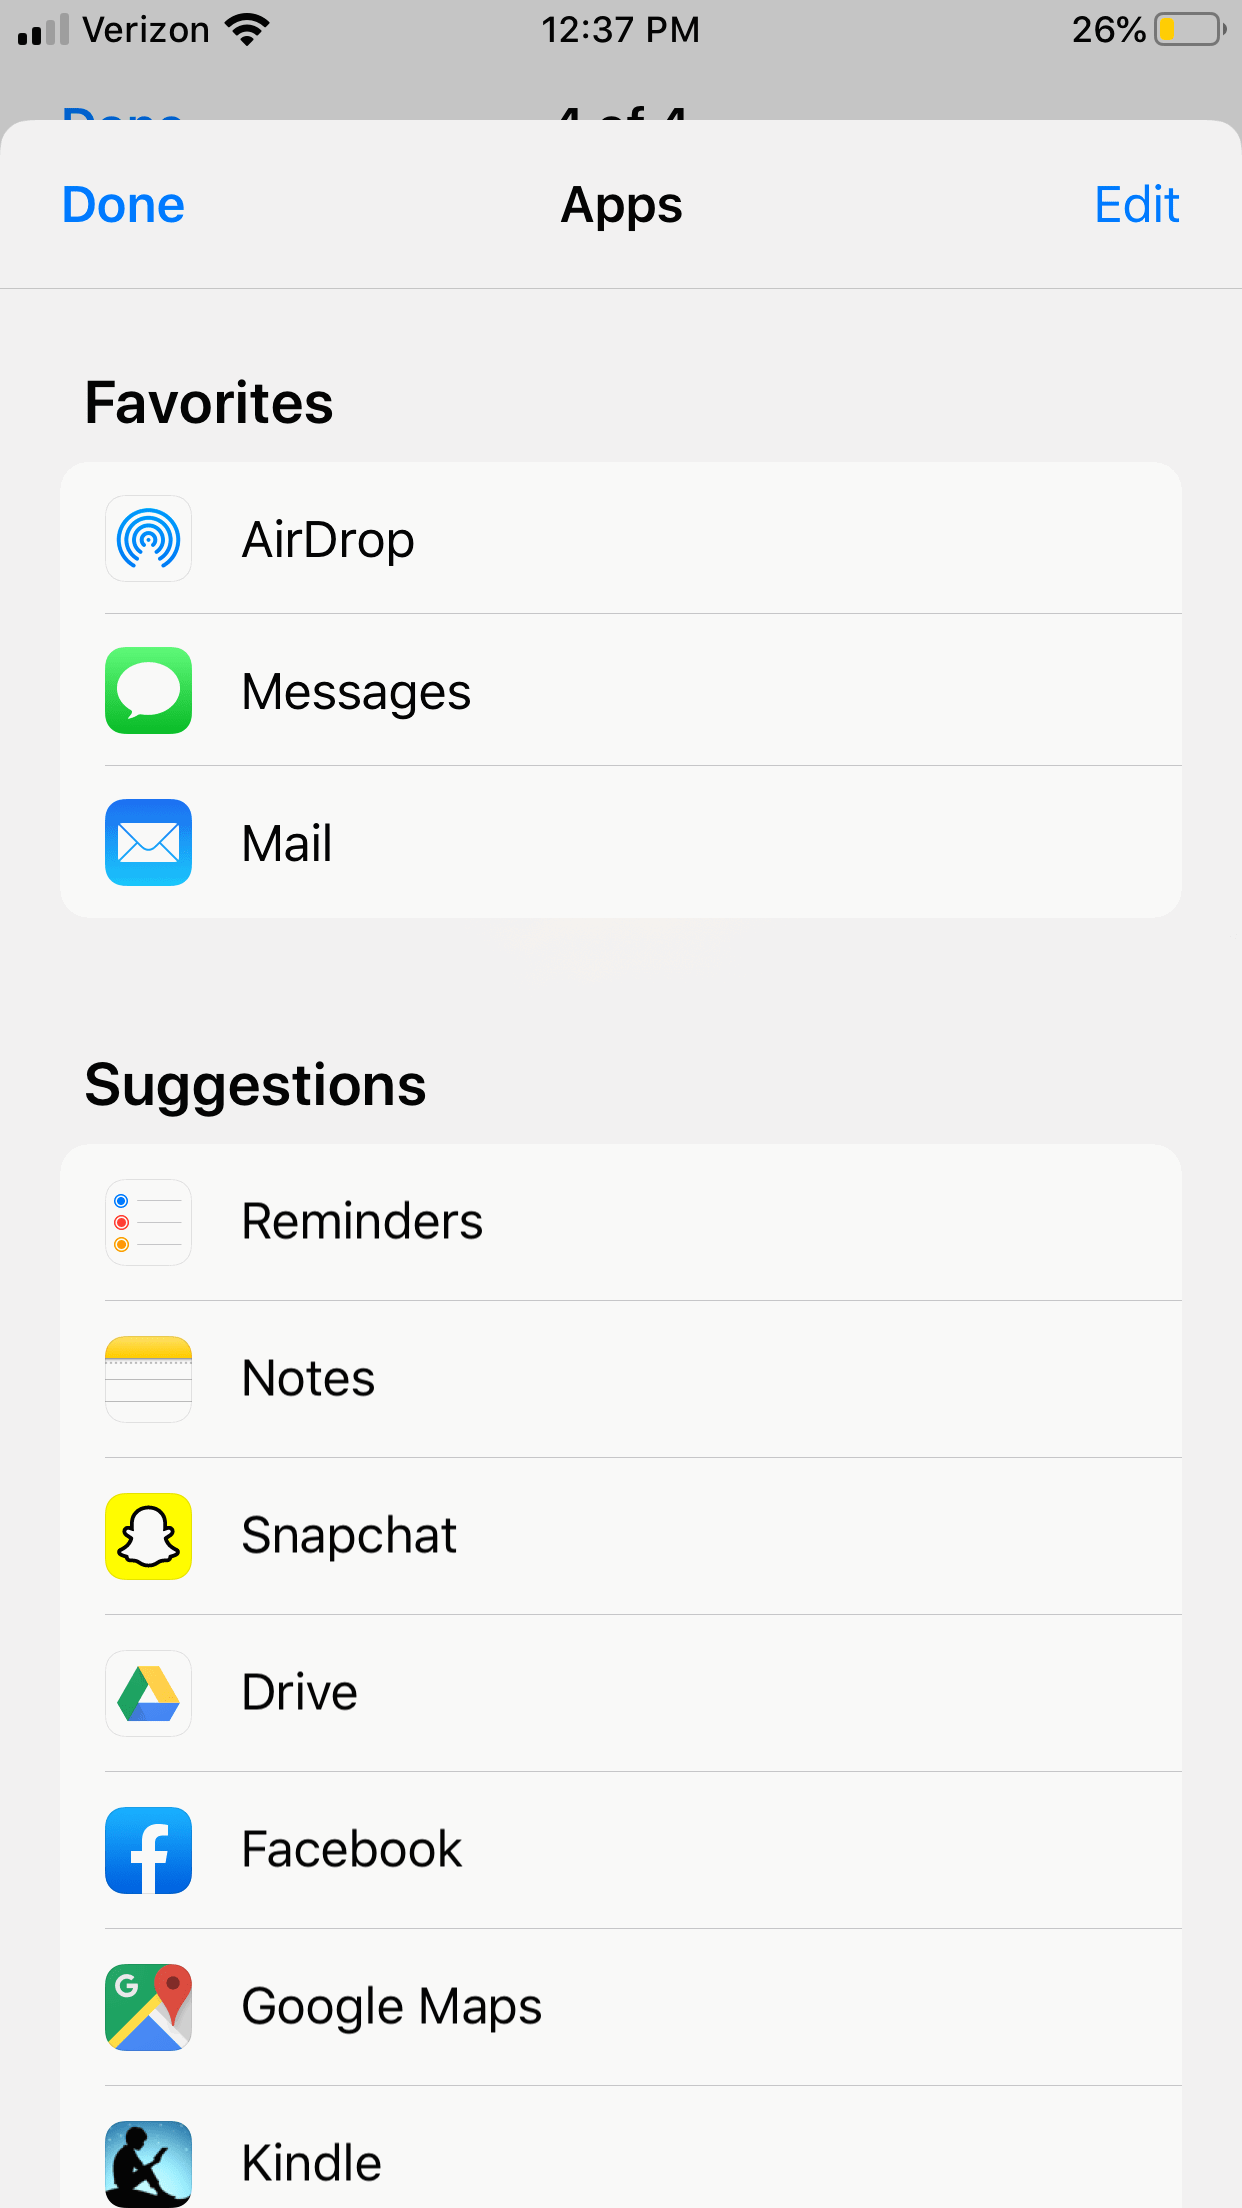
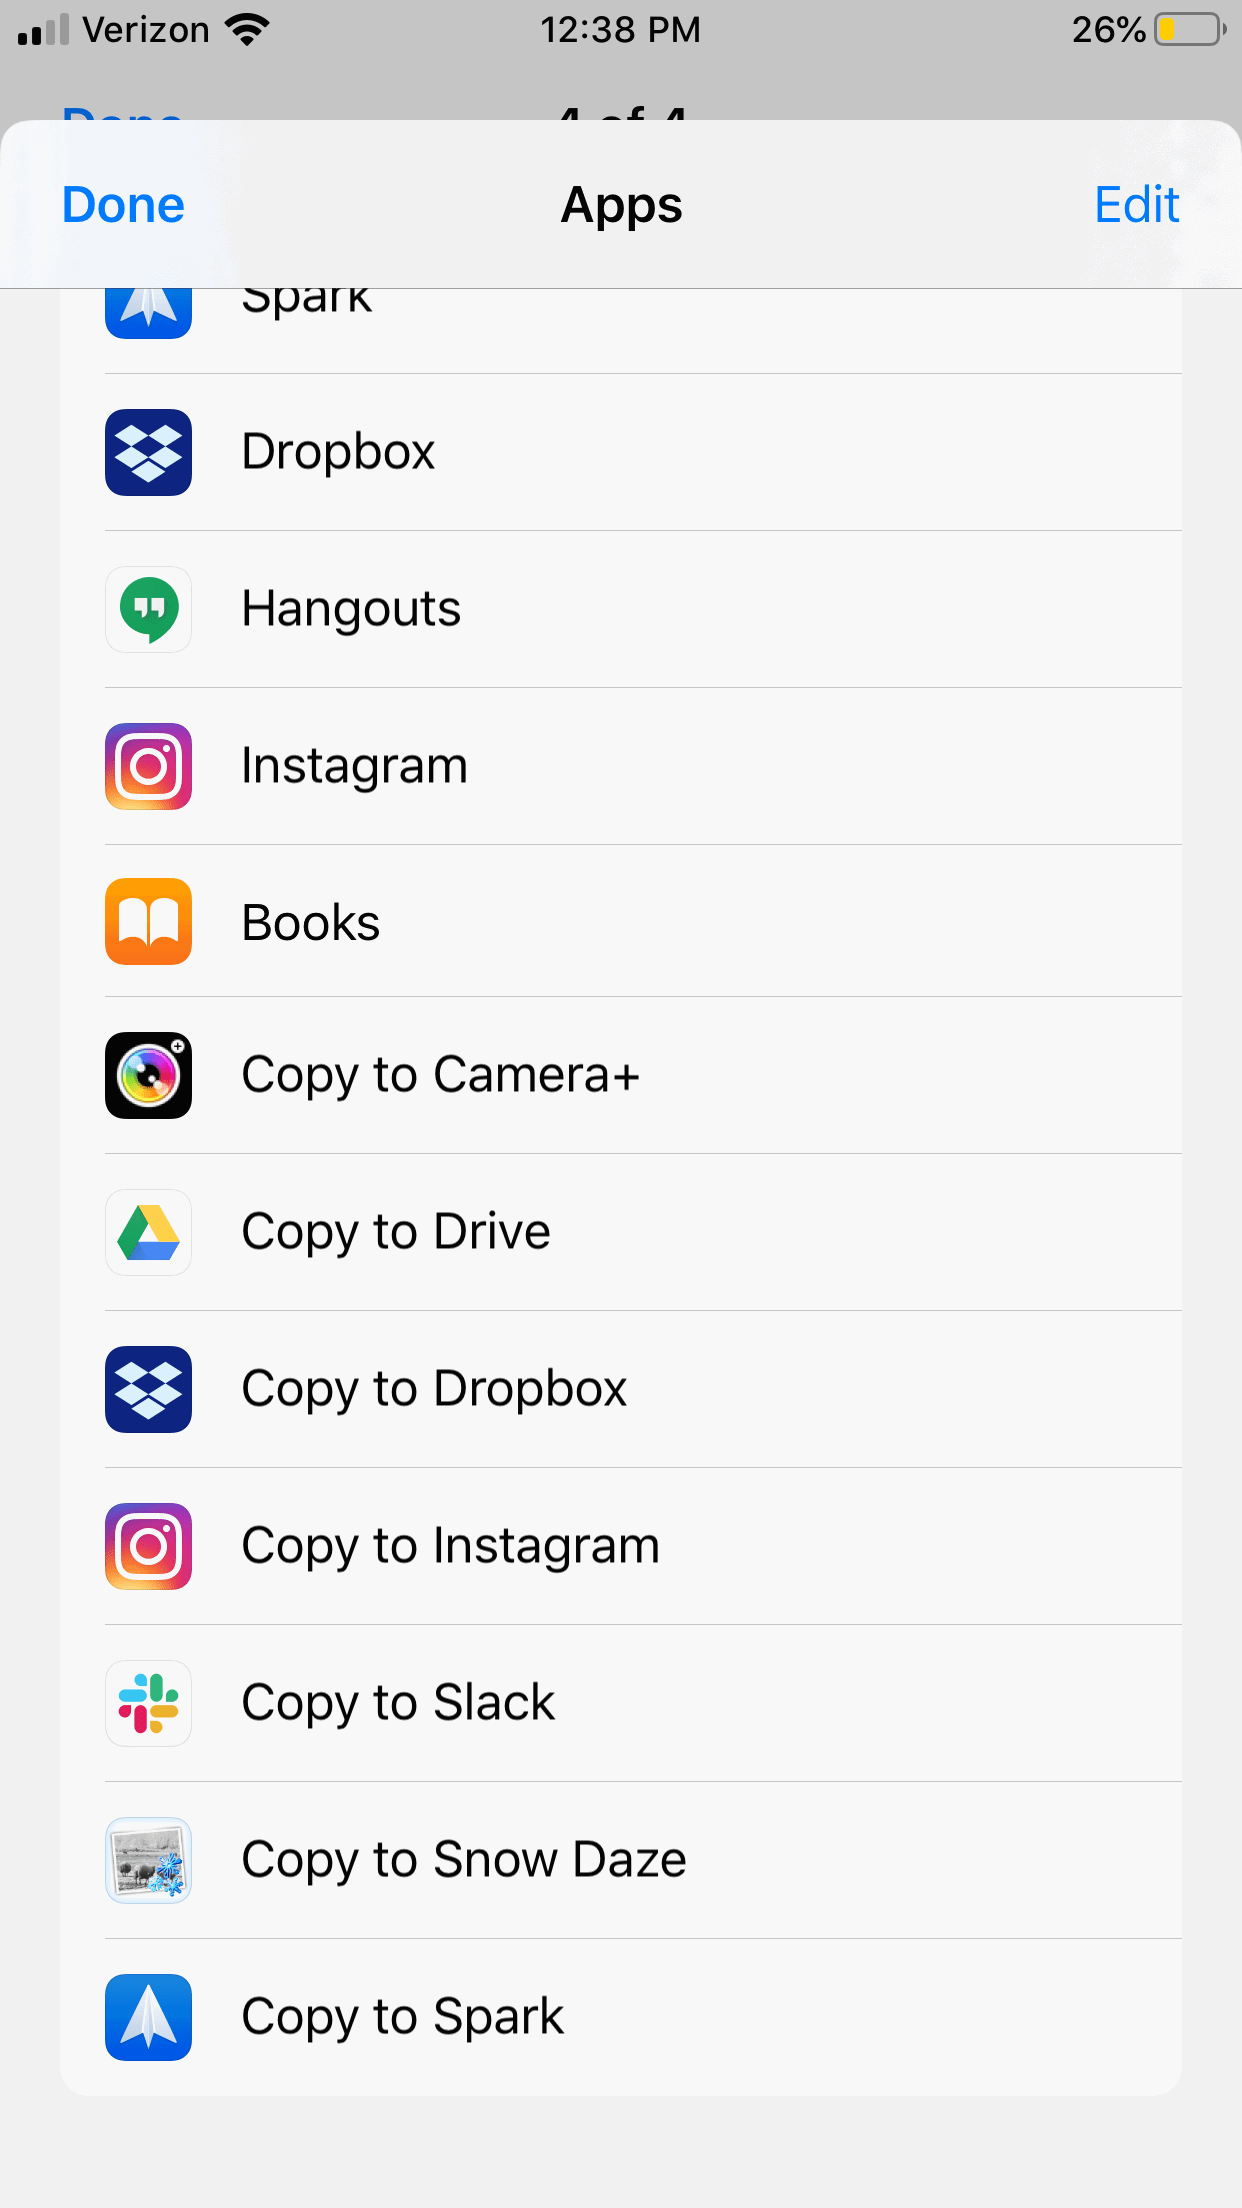
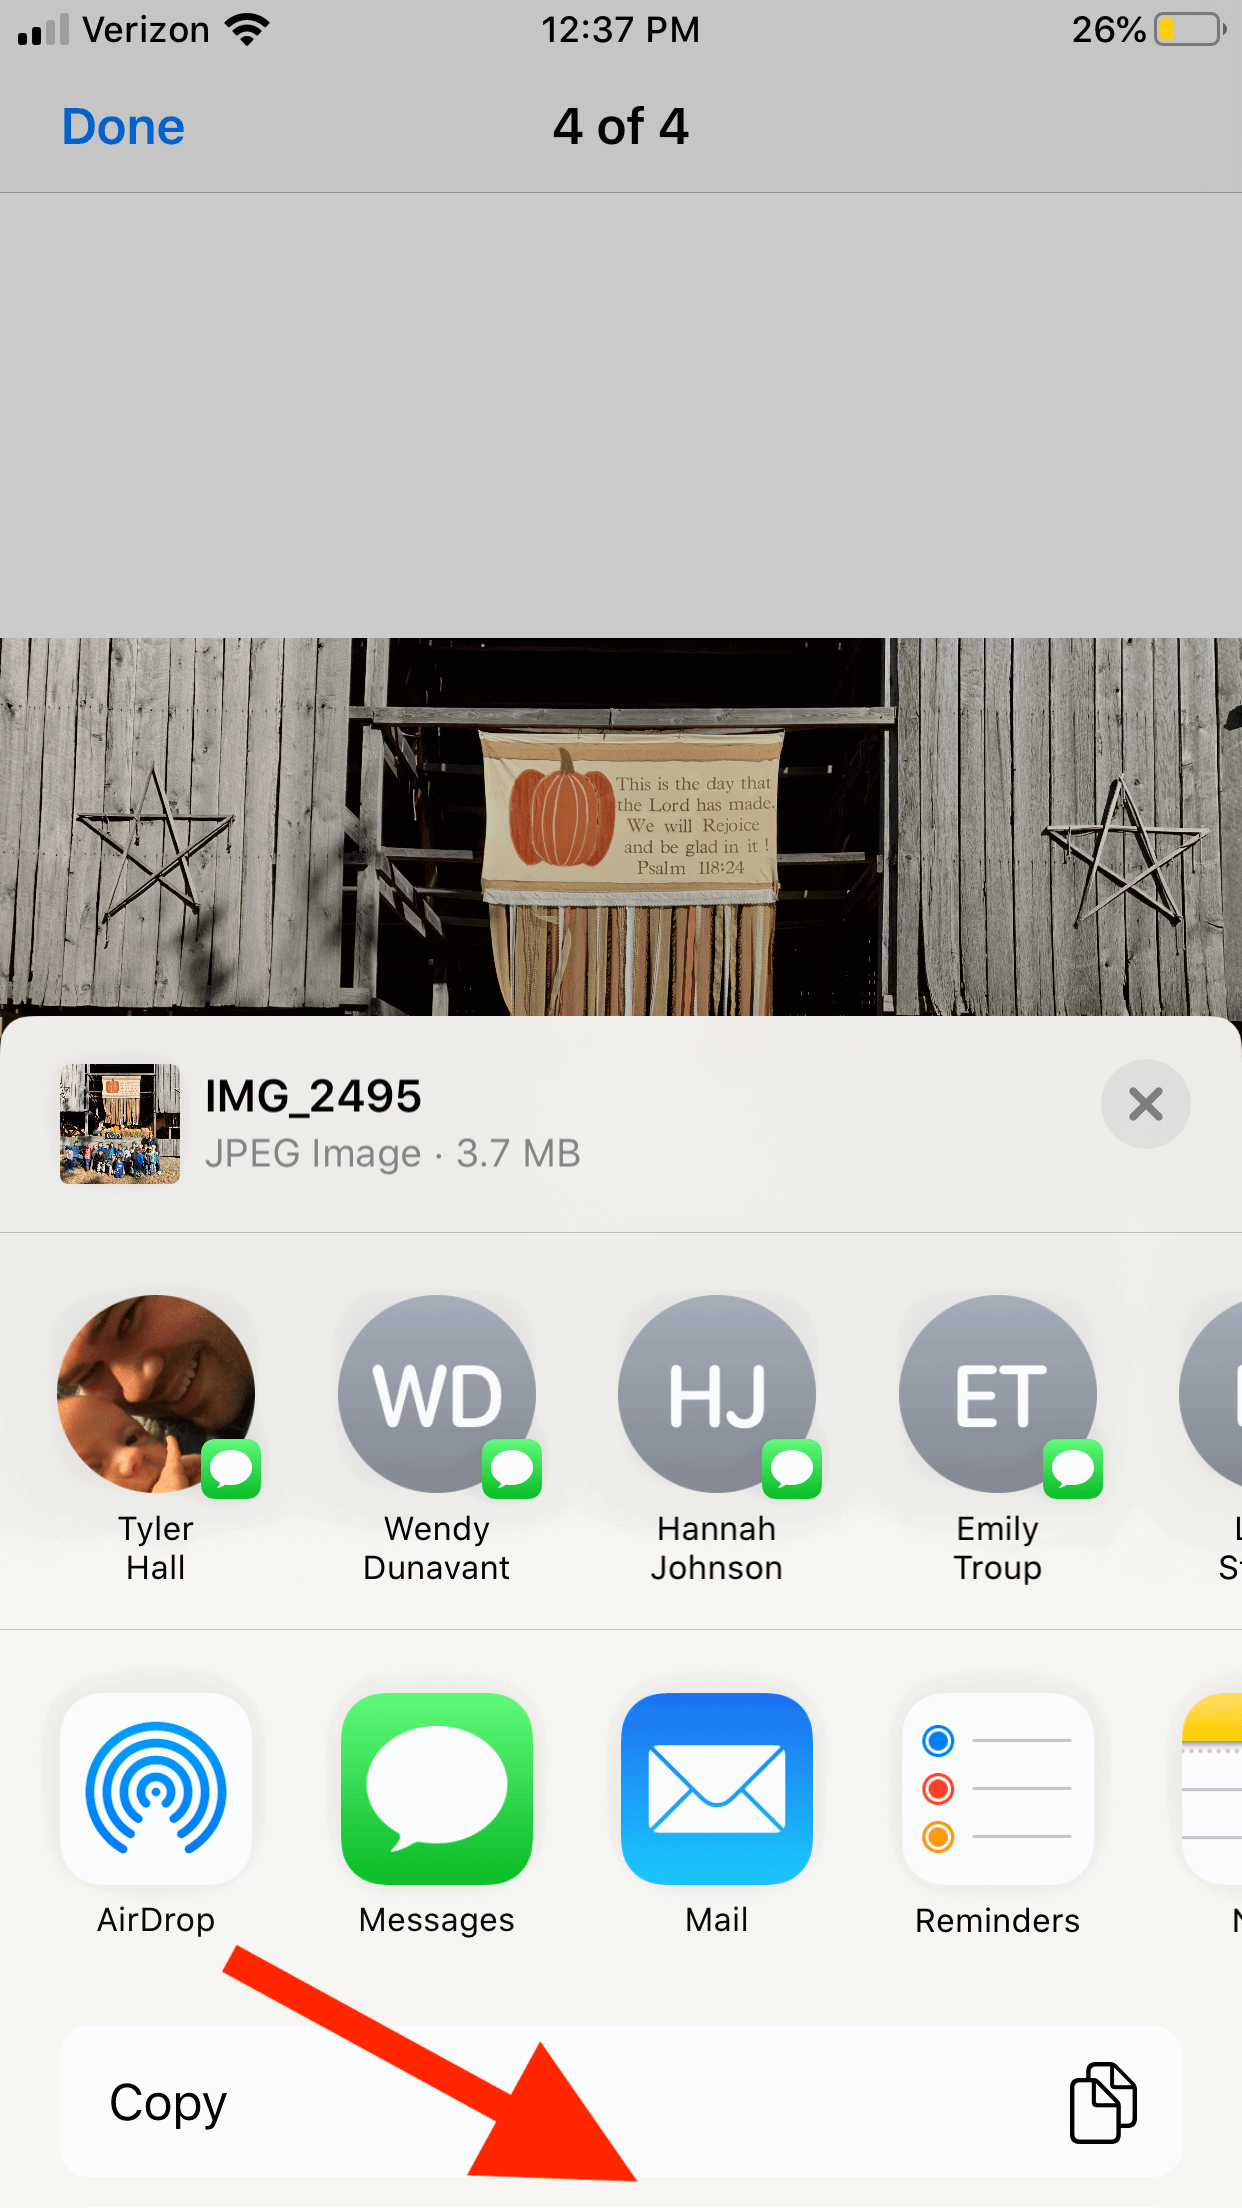
And then the final step is to POST the travel time home to my web server which handles sending the text message to my wife since even with an automatically run automation, iOS still prevents you from sending a text message without confirmation.

So, that’s it. Like my previous post about Siri and email, I’m beginning to realize that you can do a little server-side processing to augment and flesh out what iOS allows the Shortcuts app to do. And I think we as a community are just beginning to scratch the surface of what might be possible in the future as these always-online, location-aware devices become more and more capable of doing our bidding.

Rebecca Stand and the phone reason

If you saw my tweet from earlier today then you’ll already know the punchline to this particular bug report. But for those of you who don’t follow my every dumb online comment, I present to you the strangest corner case I’ve come across in fifteen years of professional development.

The app I work on during my day job was originally written in Swift in 2016, but some of the larger framework components are older Objective-C code dating back to 2012. The major development focus since I joined the project earlier this year has been on rewriting the UI layer. And given all the upheaval that in itself would cause, we’ve left the majority of the lower level code that talks to our API alone. No reason to throw out working, battle-tested code, right?

Anyway, a week or so ago we received a bug report from a customer who said the app crashed shortly after launch every time. The report they submitted was verbatim as follows…

Change the phone reason to Rebecca Stand and the app will crash

That didn’t give us much to go on, and QA wasn’t seeing any crashes on launch in their testing. And the logs coming to us from our crash reporting service didn’t show any bugs consistently crashing early in the app’s lifecycle. So, we filed the ticket away and moved on with the sprint.

Not to be deterred (and I don’t blame them), the customer got in touch with our 800 number and eventually got escalated to the head of QA.

Fast forward to today. He (the QA head) drives two hours outside Boston to visit the customer in person and install a special TestFlight build with extra logging onto their device.

He reproduces the crash. Every. Single. Time.

Being there in person with a debug build, QA is able to email me the log files directly, and every crash points to the same code…

let df = DateFormatter()
let someDate = df.date(from: dateStringFromServer)!

First off, yes. The problem is obviously that the code is force-unwrapping a string coming back from an API request. That’s a Bad Idea™.

In mine and my coworkers’ defense, this comes from that older layer of code we inherited from another company. This is nothing we’ve ever really touched because, previously, it had always Just Worked™.

Also, in defense of whoever did write the code originally, there was a contract in place with the API that guaranteed the string coming from the server was in the correct format. Sure, it’s still playing fast and loose, but, meh. I’ve certainly done worse things.

But, still. Why wasn’t it crashing for us in our testing? The customer graciously even let us log into the app as them, and we still couldn’t reproduce it on our devices.

I thought back to their original bug report…

Change the phone reason to Rebecca Stand and the app will crash

Who is Rebecca Stand? What is “the phone reason”?

And then I stopped thinking about what line of code was crashing and started thinking more closely about how it could crash.

Apple’s documentation for that method says…

Returns a date representation of a given string interpreted using the receiver’s current settings.

The “receiver’s current settings”.

“Rebecca Stand”.

I called the QA guy still at the customer’s home. “Open up Settings.app and check their date and time settings, language, etc.”

30 seconds of silence and then…

“Phone is set to English. They’re using military time. And, oh. Huh. His phone’s region is…Uzbekistan.”

Phone region. Phone reason.

Uzbekistan. Rebecca Stand.

The customer dictated their bug report to us via email using Siri. They speak English, live outside Boston, but their phone’s region was set to Uzbekistan instead of United States (or anything else more common).

The string coming from the server was the same format it had always been. But this was the first time (to our knowledge) our NSDateFormatter had tried to parse it as an Uzbekistanian format, couldn’t do it, returned nil, and crashed.

I’m not sure what the moral of this bug report is. Maybe to always program defensively? To take the time to really listen to your customers?

Anyway. That was my Monday.

Perfectly Cropped

Here’s a fun, personal story about what can go wrong in an otherwise fine UI when things are redesigned.

My wife typically only charges her phone when she’s at her desk during the day. She doesn’t leave it plugged in overnight, which means iOS’s software update never happens automatically for her. So, she just recently upgraded to iOS 13 a few days ago.

Fast forward to today…

She claimed she couldn’t save photos to her phone that someone else texted her. My first thought was “oh god, it’s something to do with her iCloud account” that I tweeted about a few days ago.

So, I call her and we start debugging this over speaker phone.

“What app are you in?”

“Messages.”

“Are you tapping the Share button?”

“The box with the up arrow? Yes.”

“You don’t have a save option?”

“No, all I can do is send it to other people or make a reminder or a note or stuff like that.”

“Send me a screenshot.”

“Ohhh, no. You have to scroll down. I don’t know how to explain the difference, but “apps” are left and right and “actions” are up and down.”

“I am scrolling down. There’s no save option.”

“Send me another screenshot.”

“No, no. You tapped the “More” button where you pick what apps show up. You need to scroll down from the main screen. Look for the black and white icons on the bottom.”

At this point there were a few seconds of silence before she yells “Oh my god! This is just like the dumb new Music app. I didn’t even know I could scroll down!”

Why didn’t she know there were options further down the share sheet? Because she’s using an iPhone 8, which happens to be just the right height to perfectly crop the share sheet. Take a look again at the first screenshot she sent me:

The “Copy” action is perfectly spaced from the bottom of the screen to appear like it’s the only option. And since iOS (and in some places now macOS, too) doesn’t offer visual affordances like scroll indicators, she had no idea there was any content further below.

I’m a developer with an eye for design, but I’m certainly not a designer. So I don’t know what the solution is to these types of accidental UI bugs. But I see them impact my aging parents all the time. This was just the first time one has so obviously confused my wife, and it caught me by surprise, too.

How to Import Your Pinboard Bookmarks Into DEVONthink and Convert Them to Searchable Web Archives

Pinboard is a web-based bookmarking service that can optionally crawl the websites you save and store a complete copy of how they appeared at that time.

Because Pinboard is a good web citizen, they allow you to request an archive of all of your bookmarks and their saved contents as a tar.gz file.

I recently stopped using Pinboard as my primary bookmarking service and wanted to export my data and store it somewhere in a searchable, archived format.

I already use DEVONthink to archive and search all of my scanned documents and PDFs, so it seemed like a natural choice as it also supports just about any other file format – including macOS web archives.

The backup archive that Pinboard gives you contains a folder for each of your bookmarks containing the complete contents of the scraped website as well as a JSON-formatted manifest file of metadata.

I spent a few hours trying to wrangle everything into DEVONThink using some AppleScript trickery, but was never successful. But then two thoughts occurred to me:

  1. You can save a URL to your DEVONThink database and then use a menu command to scrape the website into a PDF or .webarchive.
  2. .webloc files can refer to any URL scheme – including file://.

What if I generated a bunch of .webloc files – each one pointing to the location on disk of my Pinboard bookmarks? And then imported the .weblocs into DEVONThink and told it to crawl those URLs?

It worked!

And if you also happen to have this rather unique need, well, I’ve made the PHP script that does it all for you available on GitHub.

The PHP script in the repo will read the contents of your Pinboard archive and generate a .webloc file for each bookmark. Those files can then be imported into DEVONThink as file:// URLs pointing to the archived web content on disk. Then, DEVONThink can “crawl” those file:// URLs and convert them into searchable web archives. Afterwards, the .webloc files can be deleted.

On my iMac Pro with a fast internet connection, importing 3,500+ bookmarks and their 2GB worth of web content took about four hours. After it was finished, I had a fully searchable archive of all of my Pinboard bookmarks that can be sync’d across all my of Macs and iDevices.

Hopefully someone else will find this script useful.

A Faster Way to Create Multiple Tasks in OmniFocus (with all sorts of details!) Using Drafts.app

Following-up on my previous post about using Drafts to create new GitHub issues, here’s another action I built and use all the time.

This allows you to create multiple tasks in OmniFocus with defer dates, due dates, and tags in one step.

It does this by parsing a compact, easy-to-write syntax that I’ve adopted from other OmniFocus actions and tweaked to my liking and then converting it into TaskPaper format, which can be “pasted” into OmniFocus in one go. This removes the need to confirm each individual action separately.

Yes, you could also do this by writing your tasks in TaskPaper format directly, but I find its syntax (while innovative!) a bit cumbersome for quick entry. The format this action uses isn’t as feature-rich, but it does everything I need and with less typing.

Instructions:

Each line in your draft becomes a new task in OmniFocus, with the exception of “global” tags and dates, which I’ll describe later.

Each task goes on its own line and looks like this:

Some task title @defer-date !due-date #tag1 #tag2 --An optional note

The defer date, due date, tags, and note are all optional. If you use them, the only requirement is that they come AFTER the task’s title and the “–note contents” must be LAST.

The defer and due dates support any syntax/format that OmniFocus can parse. This means you can write them as @today, @tomorrow, @3d, @5w, etc. If you want to use a date format that includes characters other than letters, numbers, and a dash (-), you’ll need to enclose it in parenthesis like this: @(May 5, 2019) or !(6/21/2020).

Global Defer/Due Dates:

By default, tasks will only be assigned defer/due dates that are on the same line as the task title. However, if you add a new line that begins with a @ or ! then that defer or due date will be applied to ALL tasks without their own explicitly assigned date.

Global Tags:

Similarly, if you create a new line with a #, then that tag will be added to ALL tasks. If a task already has tags assigned to it, then the global tag(s) will be combined with the other tags.

Full Featured (and contrived) Example:

Write presentation !Friday #work
Research Mother's Day gifts @1w !(5/12/2019) --Flowers are boring
Asparagus #shopping
#personal
@2d

You can install the action into your own Drafts.app from the action directory.

Fixing a Broken Service With a Tiny Bit of Automation

This post is a nice, unintentional follow-up to yesterday’s one about backing up all of my family’s photos and home videos. Anyway…

My kids go to a fantastic daycare. My wife and I couldn’t be happier. The teachers are wonderful, they love our children, and our kids adore them, too. But, the third-party service the school uses to communicate with parents is absolute horseshit.

I won’t say what the service is because I don’t want to give them free publicity or maybe even alert them to what I’m doing, but if you have daycare-aged children, you probably know it. All the schools use use it.

All of the teachers carry around iPads in the classroom. They use this third-party app to check-in / check-out the children, capture photos and videos throughout the day, record what they ate for lunch and how long they napped, and (if your child is young enough) document their diaper changes. At the end of the day, after we sign them out of school, my wife and I get an automated email from the service with a summary of each kid’s day. But what we look forward to most are the photos/videos they take of our kids that get sent to us as they happen. When you’re slogging through a boring day at the office, seeing a happy picture of your kid on the playground with their friends is awesome.

Now, let me be clear. The service works. Mostly. I mean, it functions adequately. But it’s a horrorshow of app / website design.

It looks like something straight out of 2009-era iPhone development. It’s difficult to use. Crashes frequently. And from what the teachers have told me, the educator version isn’t any better.

Luckily, you don’t have to use their app. You can opt-in to get all the updates and photos sent to you via email, which is what my wife and I do. But, the HTML emails they send have never rendered properly in any email client – desktop or web – that I’ve tried. But that’s fine. They may not be pleasant to look at, but I can read the information in them.

My biggest gripe is that we often want to save any particularly good photos of our kids and share them with the grandparents. You can’t save the photo out of the email, because the embedded image is cropped to a square for some strange reason. You need to first tap on the image to load the full version in a browser and download it from there. Fine. But, any photo that contains any child in addition to your kid – like a group shot with a friend – is displayed with a transparent div on top of it so you can’t download it (at least on a mobile device) for privacy reasons. Look, I get it. Some parents might not want other parents unintentionally posting photos of their kids to social media. But it’s still annoying. It just forces us to take – and then crop – a screenshot. Also, the emails containing videos, which are often the best ones, can’t be downloaded at all.

Last night I got frustrated enough to finally do something about this.

I use Postmark to send all of my company‘s transactional emails. They’re fantastic for sending emails, but one feature they offer that I’ve never taken advantage of is handling inbound emails.

You can forward any email to a secret address they provide you, and they’ll parse the email and POST all of its information as a helpful JSON object to whatever URL you specify.

So, I setup a webhook in their control panel pointing to a PHP script on my web server. Then, I told Fastmail to forward all emails from the daycare service to my secret Postmark email address. You can see where this is going, can’t you?

When they send a new email to my server, the PHP script finds the link in the email’s HTML content that points to the full version on the service’s website. It then downloads that web page, parses out the URL to the full image, downloads that, and saves it into a folder on my server. This works for videos, too.

The PHP script I wrote is specific to the service our daycare uses, but if you’re curious, here it is…

That’s the first step.

Next, my iMac at home runs a script every hour to download any new photos or videos from my server and puts them in a folder inside my Mac’s “Pictures” folder. When that happens, a folder action I built with Automator automatically imports them into Apple’s Photos.app, where they’re synced to all of my mobile devices and iCloud. Soon after that, Google Photos on my iPhone will detect the new items and archive them in Google’s cloud, where they’re backed-up and made available on my wife’s phone as well.

Here’s a photo of the Automator action. It couldn’t be simpler – just one step…

The result? We get to see all of our kids’ photos as they happen, in the nice Photos app on our phones – rather than digging through the service’s crappy emails. And, sharing the pictures with the rest of our family is a one-tap process – even for the videos which previously weren’t available at all!

My OmniFocus Habits – Four Years Later

I’ve been using OmniFocus since the Kinkless days. Over those many years, my life has changed in countless ways, and with it, so has the way I use OmniFocus. Perhaps the best compliment I can give the app, is that it’s always managed to be exactly what I needed it to be at any given moment.

Four years ago, I wrote a long post about how I used OmniFocus to manage the three areas of responsibility in my life: personal, work, and freelance. Those areas have all grown rapidly since then. I’ve had my first child, taken on a more demanding full-time job, and watched my side business grow into it’s own full-time operation.

I figure it’s time to show how my workflow with OmniFocus has evolved to take on the added responsibility in my life.

I’m going to break this post down into three sections:

  1. How I Organize My Projects
  2. How I Define and Implement My Contexts
  3. My Daily Workflow

Let’s get started.

How I Organize My Projects

of4-1

Similar to what I described four years ago, the majority of my projects are sorted into three folders which represent the three primary areas of responsibility in my life:

  1. Personal
  2. Tandum (my day job)
  3. Freelance (my side business)

Other than the different job, that’s pretty much how things were four years ago. What’s different, however, are the three additional folders I’ve added to the bottom.

The first one, “Photo Book”, is for the book I’m writing. It’s a large enough task that I needed to break it down into multiple projects. I could have kept them under my “Freelance” folder since they technically are a side-project, but that felt wrong as writing is such a different beast than software development. And that’s one of the key lessons I’ve learned as my use of OmniFocus has evolved. Don’t feel like everything has to fit into a neat, pre-existing category. Don’t artificially restrict yourself. Feel free to let things land wherever makes sense to you.

The second and third additional folders are special. First, you’ll see that I’ve moved all of my Someday/Maybe/Tickler projects into one folder. I was tired of them littering my other project views, even being on-hold. Grouping them into one location helps my sanity. I also know they won’t be forgotten as they show up automatically at set intervals during my OmniFocus review.

of4-2

The final folder is for template projects. These are projects that have many steps and frequently repeat. Instead of recreating the project from scratch each time, I create it one time and place it on hold. Then, whenever that project occurs, I can drag a copy of it into one of my active folders. The two template examples in this screenshot:

  • New App Release: Every time I release a new version of one of my apps, there’s a concrete fourteen step process to ensure everything goes smoothly. I’ve eliminated most of the chance of error by using this project as a simple checklist for each step.
  • Travel Packing List: This is a great idea I read somewhere else online. I used to worry every time I walked out the door to catch a flight that I had forgotten something. Now, I have a standard list of everything I need to pack that I can confidently go through before each trip. As you’ll see in the next section, each of the items on my travel packing list are assigned to a context of the store where I’ll need to buy them if they’re disposable. (Target, Walgreens, etc).

One rule of thumb I’ve learned the hard way is to never nest folders. Folders within folders just lead to a world of hurt and cognitive load. I’ve found it’s best to keep as flat a hierarchy as possible. Your milage may vary of course.

How I Define and Implement My Contexts

of4-4

One of the most significant changes I’ve made is how I approach my contexts.

I used to go with standard run-of-the-mill contexts that related to the specific tools I needed at hand to complete a task. Things like “Mac”, “Phone”, “Home”, and “Work”. But after re-reading Getting Things Done last year, I came to the realization that most of my tasks are bounded not by what tools I have available, but by my energy level. Tasks such as “Write new blog post” and “Update credit card mailing address” are both something I need to do while at my computer but require vastly different levels of energy and time to complete. This insight led me to categorize my tasks into the following contexts:

  • Full Focus – tasks which I need uninterrupted time and concentration to complete
  • Quick Hits – tasks which I can knock out in just a few minutes, one after the other
  • Brain Dead – tasks which require no energy or concentration

I found great success with splitting up all of my tasks into one of those three contexts. It allowed me to judge what sort of mood I was in and how much time was available before determining what to work on. After a few months of using this strategy, I further segregated things by breaking them out into parent contexts of “Personal”, “Work”, and “Freelance”, which correspond to my primary areas of responsibility. While not strictly necessary, this additional grouping allows me to focus on what’s appropriate depending on whether or not I’m at home or at work.

Of course, not all of my contexts relate to energy levels. I still have a “Phone” context and ones for stores I frequent. (Although, I no longer use OmniFocus for shopping lists other than for big-ticket, future/someday purchases. All of my family’s shopping lists are kept in sync between my wife’s and my iPhones using the wonderful Silo app).

You’ll also notice I have on-hold contexts for tasks that other people owe me. I wrote in detail about how I manage the relationships between tasks and other people a few weeks ago.

My Daily Workflow

The biggest and best improvement I made to my daily workflow was to codify my morning routine for picking what I’m going to work on that day. (In fact, a big part of determining what to work on each day was simply realizing I need to a concrete series of repeatable steps for choosing my day’s tasks.) Back in 2010, I wrote

It’s hard to describe how incredibly powerful Perspectives are until you actually spend a few days with them in your workflow. Other task managers have smart folders or dedicated “Today” lists, but they absolutely pale in comparison to the flexibility that Perspectives afford.

The same is still very much true today. I’ve taken OmniFocus’ perspectives feature and simplified them down to three custom perspectives I use to plan and attack my tasks for the day.

of4-5a

Each morning when I arrive at work, I switch to my “Planning” perspective. This perspective shows me every single task that I could possibly do, grouped by context. I take five minutes and work my way through each task and decide if it’s something I want to focus on today. If it is, I flag it. I try and pick two “Full Focus” tasks that I believe I can accomplish that day. This ties in nicely with my daily goal of doing one (or two!) concrete actions. Additionally, I pay special attention to any tasks in my “Quick Hits” or “Brain Dead” contexts. I try and flag as many of those as is reasonable, since I know there will be times during the day where my time will be limited or where I’ll be low on energy.

of4-6a

Once I’ve flagged what I want to do today, I switch over to my “Today” perspective. This perspective shows all of my flagged tasks in addition to anything that is due or due soon. The list is then sorted by due date. This gives me a complete overview of everything that must be done today (and anything with a due date should really be due that day, otherwise why have a due date at all?) and what I had previously flagged to complete today.

Throughout the rest of the day, I spend nearly all of my time in this “Today” perspective. I simply work my way through my list, item by item, working to get as much done as possible before it’s time to go home.

My final custom perspective is “Waiting”. That’s simply a list in context mode, focused on my on-hold tasks that other people owe me, grouped by person. This is particularly helpful when synced to my iPhone. When I’m in a meeting or run into someone, I can just tap this perspective and see if there’s anything we need to discus. For more details on how I handle the relationship between tasks and people, here’s a post I wrote earlier this year on the topic.

Wrapping Up

So, that’s it. That’s a quick summary of what my OmniFocus setup looks like four years since I last wrote in detail about the app. The biggest difference maker in my daily sanity has been the realization that I can stay on top of everything in my life with very little mental overhead if I simply trust my system and take five minutes every morning to plan my day. That, coupled with weekly reviews, ensures nothing falls through the cracks.

I’d love to hear about your own custom OmniFocus workflows. Feel free to email, tweet, or write to me in the comments below.

A Candid Look at the Financial Side of Building Mac Apps on Your Own

Earlier today, my friend Jared Sinclair published an incredibly brave and candid blog post summarizing the financial earnings of his iOS app, Unread.

To the extent that my wife is comfortable with, I’d like to share my own financial situation as another data point – but from the perspective of someone who has experienced slow and steady growth developing Mac – not iOS – applications since 2007.

If I were a betting man, I’d wager that Jared’s post was inspired by Brent Simmons’ blog post from last week. In it, Brent asks

Who at the Table is an Indie iOS Developer?

There are a ton of Mac and iOS developers in the Seattle area and almost all the iOS developers are making money either via a paycheck (they have a job) or through contracting.

The only local indie iOS-only developer I could think of was me and even that won’t be true for much longer, as we’re working on Vesper for Mac.

There probably are other local indie iOS-only developers, but I just can’t think of them at the moment. At any rate, they’re rare.

Looking at my own developer friends, I can’t think of anyone who is surviving solely on revenue from their own iOS (not Mac) apps other than Jared. Like Brent says, everyone I know is either employed full-time or relies on contract work to get by.

However, for two wonderful years in 2012 and 2013, I was living “the dream” – albeit by taking a slightly different route towards indie-hood. But before we get to the financial details, first, a bit of history.

I started building Windows desktop apps with Visual Basic when I was eleven. As I grew older, I became frustrated with the inability to get my software in front of people. This was the mid-90’s and there were certainly no app stores and very few people ever thought to download software from the internet. And, even if they did, how would they pay for it?

This frustration eventually led me to web development where I fell in love with the freedom of publishing a site and having it instantly available to anyone with the URL. The relationships I built with my visitors and customers sustained my interest in web development through college and turned into a profitable career. But I always missed the physicality of shipping desktop apps.

In 2003, when I switched to Mac full-time, I quickly fell in love with writing desktop apps again – this time with Carbon and Cocoa. I built tons of toy apps, but it wasn’t until 2006 that I finally began working on a real idea with the intention of selling the software. The internet had come of age and people were downloading and buying Mac apps from independent developers – and I wanted so badly to be one of them.

The app I chose to build was VirtualHostX. It’s a Mac app that gives you a graphical way to manage the Apache virtual hosts on your Mac. Version 1.0 shipped on August 27, 2007. Since then, the app has grown in scope, gained a companion subscription web service, and reached version 5.0. In between those releases, I’ve also published a number of other Mac apps and one iOS app. A few have been discontinued, a few are still around, but none have thrived the way VirtualHostX has.

I’m getting closer to sharing my financials, which is why you’re probably reading this, but before I do that I’d like to say that I’ve truly poured my heart and soul into this app. It started out small. So small, that my original goal was to earn $7,000 over the LIFETIME of the app so my wife and I could afford to refinish the wood floors in our house. As you’ll see, it’s gone way beyond that. And for the seven years of its life, I’ve spent many thousands of hours building the app, tweaking the website, and – perhaps most importantly – giving the utmost care and high quality customer service I can manage.

While VirtualHostX may be simple on the surface, it does mess with your Apache system configuration files. Novice users can easily mess things up despite the app’s best efforts to eliminate any risk to their system. I have, on hundreds of occasions, done deep dives with users over email, phone, and chat into their system files to figure out problems. Quite often the error is tracked down to a typo they cut and pasted from a 2005 linux admin forum post when they were trying to do things themselves without my software. Seriously. But, I always keep a cheerful tone and do my best to help them out. All of that customer service work has led to a loyal following that I know is the engine of my success. But, more on that later. Now for some charts.

So, how has my little business done? Here is my yearly revenue each year since I started selling my first app in August 2007.

cot-sales-yearly

In 2008, my first full year, I made $2,288. Since then, sales have slowly and steadily grown primarily through word-of-mouth as I’ve done virtually no advertising. I’ve been fortunate to have quite a few smart people recommend the app on their blogs and through Twitter. With their help and my constant attention to improving the app, last year I brought in $58,093. Over the lifetime of the app I’ve earned roughly $200k – the majority of that coming in the last few years.

With the exception of 2012 and 2013, I always had other full-time jobs. My software company, Click On Tyler, was purely a side venture. However, as my revenue increased in 2011, I felt like I was nearing a tipping point where, along with my wife’s full-time income, I could take my side business and make it my only business. In 2012 I took that leap and went full-time indie.

For the most part, I believe my jump into indie-hood was successful. I credit my rise in sales in 2012 to the extra time I was able to spend working on VirtualHostX and my other (much smaller) apps. 2013 was equally as successful and I expect 2014 to be as well. However, with the birth of our first child in early 2014, my wife has decided to be a full-time mom and quit her job. So I’ve gone back to a salaried position and am relying on that – plus my app income – to support our growing family. While my app business is technically back to being a side project as it has been in the past, I’m no longer treating it as such. It’s now a full-time second income which replaces my wife’s previous job. We’re as dependent on it as we were her salary.

So, that’s the history of my software company and my development efforts. What have I learned and how is my business a better business than selling in the App Store?

Well, for starters, it takes a lot of patience. My sales didn’t appear overnight. It took five years for me to gain semi-stable financial independence. That’s something that I worry most iOS developers with indie dreams don’t appreciate. I’m not singling out Jared, but I think the “gold rush” mentality of the App Store leads many people to expect either instant success or epic failure. They lose sight that there might be a middle ground where you can grow your business slowly over time into something substantial.

I think part of that mentality comes from the relatively quick half-life of App Store apps. Most apps are launched feature complete on or near day one. They rarely continue to grow and gain additional features over time. Likely to blame for this is the severely restricted product focus that iOS apps demand. Apps on OS X are typically more complex. I’d wager iOS’s intense focus lead to users disappearing once the app has solved their initial problem. Mac apps, with their extra complexity and larger feature set, keep users coming back.

And speaking of customers, when you’re developing for the App Store, who are they? The truth is, you have no idea. All sales are completely anonymous unless they specifically reach out to the developer with feedback or support requests. Compare that to my situation selling directly to the customer. I have the full name and email address of everyone I’ve ever done business with. I can market to them when there are significant app updates, and I can see their purchase history when they contact me with questions.

Unlike the App Store, I’m also able to sell upgrades to my customers whenever a major new version is released. Take a look at this chart of my revenue per month.

cot-sales-monthly

Like the first chart, you can see my sales have grown over time. But the monthly breakdown lets you see a few significantly larger sales spikes every 12 – 18 months. Those are the months where I release a major new version and market to my existing customers. Every year, that is my largest sales month by far. I’m not sure I could survive without that added boost. Sure, on the App Store you can release an upgrade as a new SKU, but you lose all of your existing customers and have no way to market to them. And there’s no way to offer them an incentivized upgrade price. Further, think back and remember the shit storm Loren Brichter created when he dared to charge a few bucks for version 2.0 of Tweetie.

And that leads me to another difference between developing for iOS and Mac. On the App Store, the price for apps has bottomed out. There are countless stories of developers, Jared included, failing to gain traction by setting an upfront paid price. Apps can require thousands of hours of work and yet can’t command a price of even $0.99. The only apps making money that I’m aware of are littered with scummy in-app purchases. For developers who take pride in what they build and don’t want to lower themselves to that level, there doesn’t seem to be a route to profitability.

With VirtualHostX, the opposite is true. In 2007, I priced the app at $7. Over time I raised the price to $9, $12, $14, $19, $24, $29, $34, $39, and, now, $49. With each price increase my total sales and revenue have only gone up. And, as an extra bonus, the quality of my customers has increased as well. I never received as many angry emails from customers as I did when the app was priced cheaply. Now that VirtualHostX costs “real money”, I weed out those users who aren’t willing to make a financial commitment to the app and my company.

On the App Store, it’s unheard of to charge what would have been a fair price pre-App Store. Very few companies are able to get away with such things. Those who do, (Omni, Panic, Day One), create complex apps that grow over time and are balanced by their Mac counterparts. They don’t go for the one-shot $0.99 apps. Instead, they build real apps of value and price them accordingly. Jared alludes to this in his post. He says

Unread launched at an introductory price of $2.99 USD. I rose the price to $4.99 two weeks later. In retrospect, I think I left a lot of money on the table.

I think he should have gone even further. If Unread truly is the premium app he believes it to be, which I tend to agree with, why not charge a more sustaining $19.99? Better yet, build a Mac counterpart and sell it to a customer base that still believes in paying for quality products.

So. What have we learned?

Well, it’s my experience that you CAN build a sustainable software business selling to consumers as an independent developer. You just can’t do it in the App Store any longer – if you ever could.

You need to start building for the Mac, where you can charge a fair price, sell directly to your customers, and charge for upgrades. Even then, success won’t happen overnight. But it is doable.

So, any thoughts? Since I’m in the sharing mood, any stats about my business you’d like to know that could be added to this post? Feel free to reach out.

Why I Took the Job

Almost four years ago today, I moved across the country and accepted a job at Yahoo!. But one of the main reasons I took the position happened six years before that.

In the Fall of 2001 I was a Sophomore in college at MTSU. Each morning I’d roll out of bed and open my Yahoo! home page. It was the first step in my morning routine. I’d check the news, check my email, then get ready for class.

On Tuesday the 11th I woke up at 7:45. The first thing I saw on Yahoo! was a headline that a plane had crashed into one of the towers. I clicked through to the article, but it was such breaking news the whole story was only three sentences long. It had just happened.

I woke up my roommate — a pilot himself — and turned on CNN just in time for both of us to watch the second plane hit live. Neither one of us spoke about it. We just sat there in silence watching the morning unfold.

I haven’t spoken to Chris in years, but if he’s anything like me, that image turned into one of the defining moments on our way to becoming adults. And looking back, we both would have missed it if not for the news being reported on Yahoo! that morning.

And so, six years later in September 2007, I was sitting in Starbucks with my Yahoo! offer letter in hand trying to decide. I remember thinking how much Yahoo! had indirectly changed my life that day and with a thousand other small contributions since then. And now I was given the opportunity to work for them and possibly impact millions of other people, too.

That’s why I took the job.

So tech pundits can write gleefully about the fall of Yahoo! — the many missteps they took during their short corporate history. But fuck ’em. I’m proud I got to work there and with so many incredible people for three full years. And I’m sad to see Yahoo! put themselves up for sale. There are few companies around with such reach — few that can claim to have changed the lives of so many people with nothing else but a few bits over the wire.